Sunday, August 26, 2012

SoftBums Back Elastic Replacement

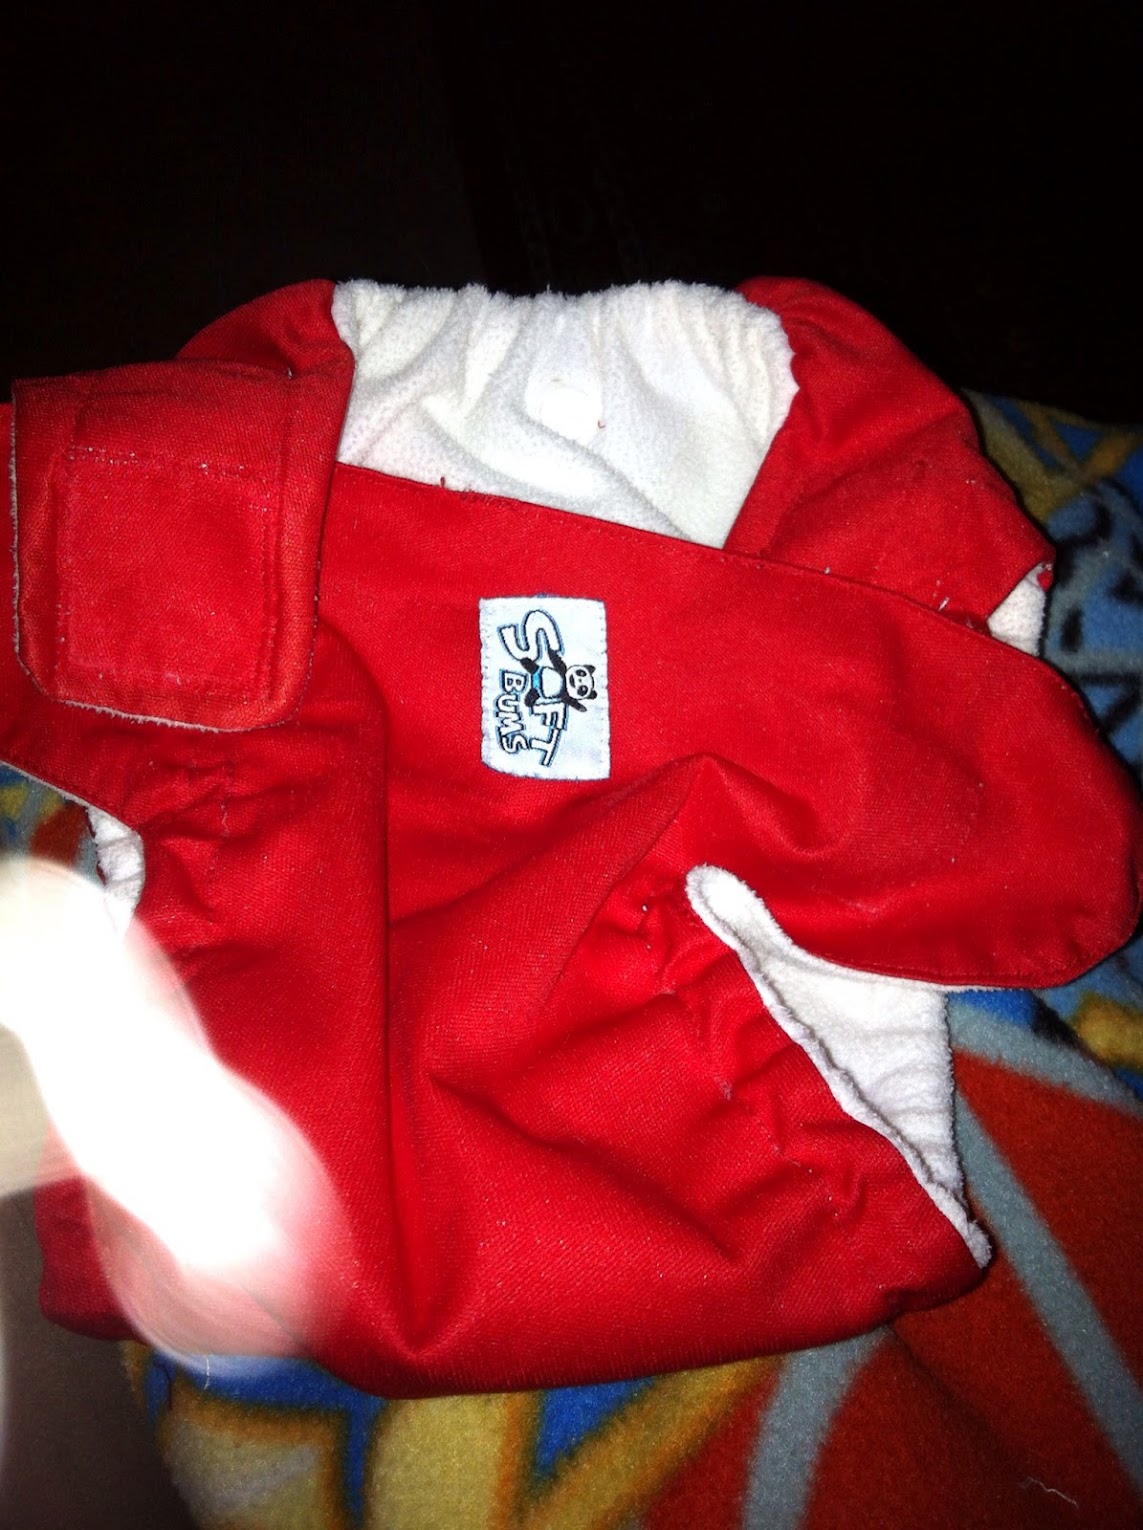
So, this is a DIY on how to replace your BACK elastic in your SoftBums.

What you'll need:
Seam ripper/Little Scissors
Sewing machine that can do a simple straight stitch
Replacement kit from SoftBums (check your toggles and tell them if you need new toggles too) OR
1/4" BRAIDED elastic 1-6" piece
Replacement snap for the back
Wire cutter or similar tool for snap removal

Step 1:
Using a seam ripper, take out the back seam.  This can be done without turning the diaper. 
Remove elastic


Step 2:
Remove the snap.  I am pretty sure there is an actual tool made for doing this, but I happen to have a wire clipper laying around so I use that. It works fine for me.

The thing is here, take your time.  These can be a bugger to get off.  What I do is just start clipping away at the cap of the snap.  Being sure to stay away from the PUL or MF.

TIP: throw on your sunglasses and/or keep it pointing away from you as you clip.  The snaps can be brittle and shatter.  I got a projectile to the eye doing this and learned the hard way.  Learn from my mistake.  Be careful!


 If that doesn't work, go for the inside.  Clip this like slicing a pizza and it will come out from around the peg.

Just the post showing, now I just cut the end and pull the post out.  

 Step 3:
Turn diaper inside out.  You can do this thru the big hole in the back that you just made, however, I suggest flipping it through the hole in the front.  And yes it can be done.   Carefully.  If you want you can slit a few stitches on the front to make it easier, but I promise it can be done.  See video below!

If you flip it through the hole in the front, it will be easier to flip it back because you don't need to pull the front elastic through.


Step 4:
Sew on new elastic.  Placing it where the previous one was, start off the elastic about 3-5 stitches and back-stitch, then place elastic under presser foot, sew on the elastic about 4 stitches and back-stitch.  Then stretch the elastic, holding the fabric in front and behind the elastic and you'll need to gently help it through the machine since you're pulling the elastic.

TIP: Do not cut your elastic to length.  Leave it long and cut it after its sewn, it will save you a headache and stitched fingers.

Un-stretched: 

Stretched: 

At the end back stitch, clip your elastic while your needle is down, then stitch off the end 3-5 stitches and back-stitch.  Make sure you sew the back up all the way.


Step 5:
Flip.  

Done!


I have a good video how to flip your diaper, but my computer won't upload it.  I'll post it in a different post as soon as it will let me publish it.  :-/


Tuesday, August 21, 2012

School

I think most of you know but I am in nursing school.  I am in my second half of the program this year and will be graduating in May 2013.  

I am starting school up again next Monday (yea, and boo).  While I will still be available to fix fluff, it will be more limited and the turn around time will be longer.  

Be sure to send me an email or fb chat with me before sending items.

meganschultz@gmail.com


Thank you!


Friday, August 17, 2012

SoftBums Leg Elastic Replacement

Ok, I suppose I could have picked a better color to do this tutorial onnrather than white, but I think it is easy enough to see, if there are problems let me know and I can re-do the tutorial with contrast thread.

So, this is a DIY on how to replace your LEG elastic in your SoftBums.

What you'll need:
Seam ripper/Little Scissors
Sewing machine that can do a simple straight stitch
Replacement kit from SoftBums (check your toggles and tell them if you need new toggles too) or
1/4" BRAIDED elastic 2-15" pieces
Small safety pin

Step 1:
Using your seam ripper cut about every other stitch.  

 Again, whenever possible I recommend you seam rip on the microfleece side to be sure you don't poke holes in your PUL.  Clip the stitches going across (on top in below pic) and down the elastic casing about 1".  Do this on each leg.


Step 2:

Cut your old elastic off, and remove toggles. 
Then
Flip your diaper inside out through the toggle access in the front (yes it USUALLY fits).  Be gentle and go slow.  When you get to the HnL tabs fold them and slide them through individually.  If your diaper has an extra small access hole, you may need to use your seam ripper and cut it just a little bit so you can flip it.  If you do this, just edge stitch it back up when your done, back stitching at the ends (See HnL replacement).


This is what it looks like flipped inside out.  Weird I know. 


Step 3
With your diaper inside out find where the ends of the elastic are.  Where you cut your seams on the outside.  Gently pull and you should see the seam pulling apart.  Use your seam ripper and finish opening the end of the leg casing.  Open this enough so you can get in there with your machine and tack your new elastic on in the same spot.  

This is how the old elastic is sewn into the diaper.  It is NOT only sewn in with the seam on the outside, it is tacked to the seam allowance on the inside (great construction by SoftBums, bad for us to try to replace).  Use your seam ripper and remove this.

Tip: pull the elastic out of the casing so it is hanging by this seam.  Flip it over so you can see the bottom of the elastic and the stitches that go from it to the seam allowance.  It is easier to get in here to clip the stitches than to try to get them all from the top.  


 Step 4:
Tack your new elastic on with your machine.  Back stitch 2-3x so it won't pull off.

Step 5:
Thread the new elastic through from the back to the front.  Use a small safety pin (small enough to fit through the taper in the front of the diaper.  

TIP: thread the elastic through on the side with the microfleece not the PUL, it will slide easier.  Once you have it threaded through make sure your elastic is laying flat.  It will be much less frustrating to fix that now than when you're trying to diaper a baby.  


 Step 6:
Sew the casing closed.  Be sure you sew over the top of the end of the elastic.  Double stitch it 2-3 times, make your pivot corner and back stitch over the free end of the thread you cut.  This will keep it from unraveling later.

 Done!  New stretchy elastic!! 


Tried it?  Problems?  Need help?  ASK!!! PLEASE!!!!

B. W's 6 shell fixup

D. W's Fixer Uppers:

I got the HnL off last night today I will wash them to remove the buildup that happens under the HnL after being used for a while.  Then after washing I'll sew the HnL on quick and they should be ready to send out Saturday (pending any issues).  :)  


Tuesday, August 14, 2012

Seam ripper

Fixing something or think you may? 

Go get a seam ripper.  It will save you tons of anguish.

http://www.joann.com/dritz-deluxe-seam-ripper/prd2990/

Monday, August 13, 2012

Replacing Hook and Loop on SoftBums

While I am waiting for more fluff to arrive at my house for fixing, I have a couple of my own that are in dire need of new hook and loop (H&L).

I thought I would post a quick DIY on replacing H&L for those of you who want to try it on your own.

It isn't hard.  

All you need for tools is a seam ripper, a little pair of scissors, cornstarch and of course a machine.  Nothing fancy, it just needs to do a simple straight stitch and not be too angry about sewing H&L (some have tempers-mine HATES tulle).  

Use 100% polyester thread (most are except quilting, but check your spool first)
Use a simple straight stitch throughout the DIY
Use a ballpoint needle


Step 1:
Carefully remove all H&L with your seam ripper.  A little scissors will work but it is about 10 times harder, pick up a seam ripper at your local craft store for a few bucks, it will save your frustration and your diapers.

When possible remove the H&L from the microfleece side, this will help prevent any accidental holes in the PUL.  


Step 2:
This is probably the hardest part, only because it is SUPER easy to put a hole in your PUL.  You need to open the front of the diaper.  Just along the top edge because you will need to get in there to put the H&L back on with your machine.  


Step 3
Start putting your H&L back on.  I usually start with the front, for no reason at all.  Put a ballpoint needle in your machine (red) they are the smallest.  My trick is to use a little fabric tac on the H&L only on the front just so things don't wiggle or pull.  Start sewing using just a simple straight stitch and back-stitch at the beginning, end, and before and after each corner.  You want this sewn down well and the corners is usually where trouble starts.  

The H&L has about 1/8 of an inch on the top and bottom for sewing, but the sides you'll just have to sew over the H or L.  Stay about 1/8 or just under away from the edge.


This is the inside after the front has been re-sewn.

The outside with the new loop.

Step 4
Tabs.  Start on the outside and work in, first putting the hook on the outside of each tab then the hook as the laundry tab.  Again, keep about 1/8" or just under away from the edge using the same needle.  If your diaper is darker you will want to use the coordinating thread here and not white.  Put the correct color in your bobbin since you will want to look at your H or L to keep it straight.  

Sew with a simple straight stitch, and back-stitch up to and after each corner.

HINT: Don't forget the trick for the corners, end your stitch where you want your next stitching line to begin, with your needle down, lift up your presser foot, spin your work so you are heading in the next direction, lower your presser foot, and continue on.  This will keep your thread in one continual piece (reducing the chance of unraveling) and be much easier on you.


Outside after hook placement.  

You will NEVER get the H&L to be exactly where the old one was, but after a few washings, you'll never be able to tell the difference.

Inside the tab with the new hook.


Both H&L replaced on the tab.  You can see where the SoftBums tag was, which I will replace last (after I switch my threads back to both white). 

Step 5
Switch your bobbin and top color both back to white and sew on your overlap loop.  Staying the same distance in, just ensure this piece is straight as you will see it on the outside of the diaper.

Step 6
Last part of the tab: edge stitch your logo back on.  Stay close to the edge and take your time, you should be able to stay about 1/16" away from the edge and be okay on this.


Step 7
Put color matching thread on top, white in your bobbin.

Now you just need to close up the front of the diaper.  I leave this until last incase I need to replace elastic or fix anything else with the diaper.  Line up your microfleece and your PUL, both should be folded over.  Edge stitch them together, back-stitching at the start and at the edge of each side of the opening in the front (to reach toggles).  Since the MF is stretchier than the PUL you may need to gently hold the fabrics so they stretch into the machine.  

This is the hardest part, and sometimes they come out looking a little goofy, but wash it a couple times and the MF will shrink up and lay nicer.  Remember you've just de-assembled your diaper, it may need some time to "relax" back to its normal shape.  


Done!

After you take a diaper apart and replace parts, make sure you wash it like it's new.  Wash and then dry on hot.  You need to seal up the holes where the old H&L was and where the new H&L goes.  


Saturday, August 11, 2012

Hannah S. firecracker

Hannah sent me this diaper with its front loop coming off.

I always replace not sew over, so I removed all the hook and loop from the front and tabs then left it naked while I went on vacation.


I got it all sewn up today and ready to be sent back to its momma and baby's butt. Here it is...